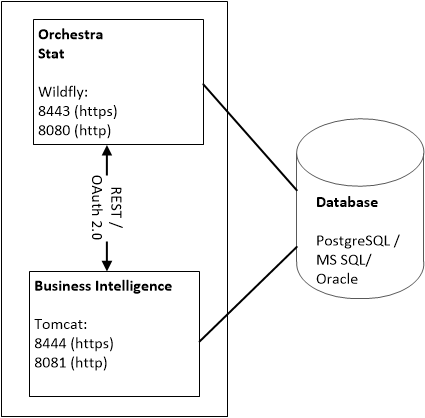
 For this scenario, you will need to run the Orchestra installation wizard. If you then also want to install Business Intelligence, as in the picture above, please see “Business Intelligence” . It is recommended that path names containing spaces should not be used. If you are going to use PostgreSQL and will be installing it at the same time as installing Orchestra, this configuration can be skipped.
 Using the Installation Wizard to install Orchestra means that all modules will automatically be installed. If you know for a fact that you will not be needing certain modules, you should rather use the install.properties file to select the wanted modules and then run the installation in silent mode, using the command install.bat -s for Windows, or install.sh -s for Linux.
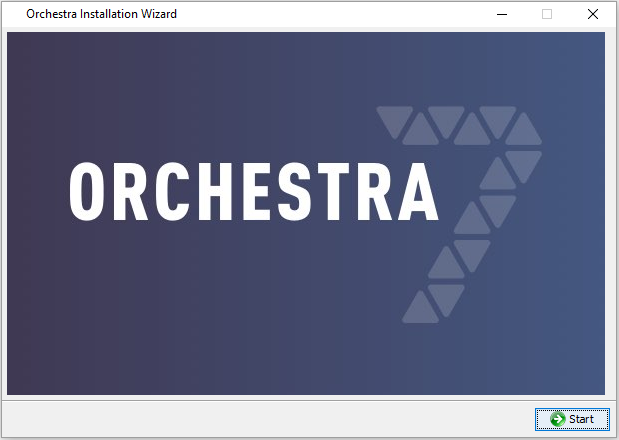 | 1. Click Start to start the installation. |
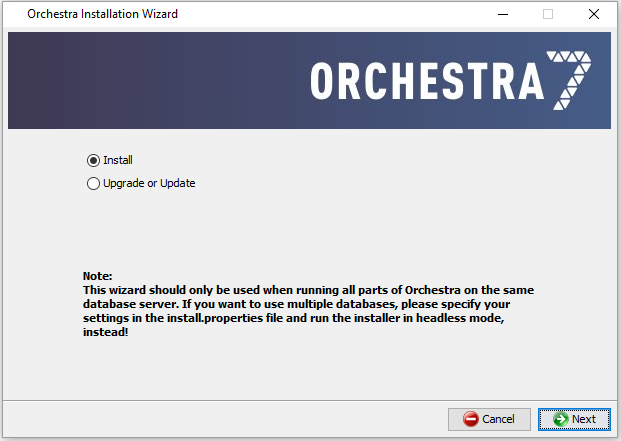 | 2. Select Install. |
 | 3. Enter the wanted installation path, IP and Hostname. It is important that the External IP matches what the user will enter in his/her browser.It is also possible to enter a valid domain name, for example qmatic.com, or a host name, such as GOT-JOHSTA-001. This can also be updated post installation, in the file agent.conf. Host names used by Orchestra should follow the RFC952 specifications. For more information, see https://tools.ietf.org/html/rfc952. |
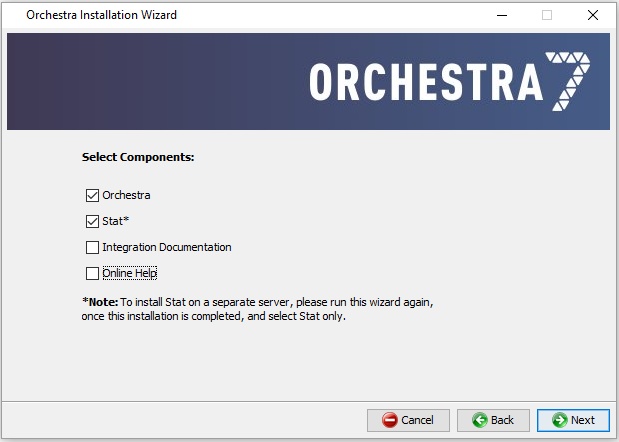 | 4. Select the wanted components. If both Orchestra and Stat are selected, they will be installed on the same server. If however, you want to install Stat on a separate server, see “Orchestra and Stat on Separate Servers” . |
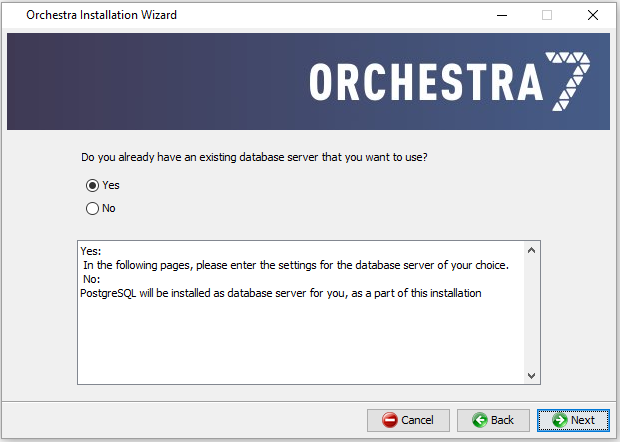 | 5. Select whether or not you already have an existing database server that you want to use. If you select Yes, you will need to enter the settings for your database server in the following pages. If you select No, PostgreSQL will be installed. |
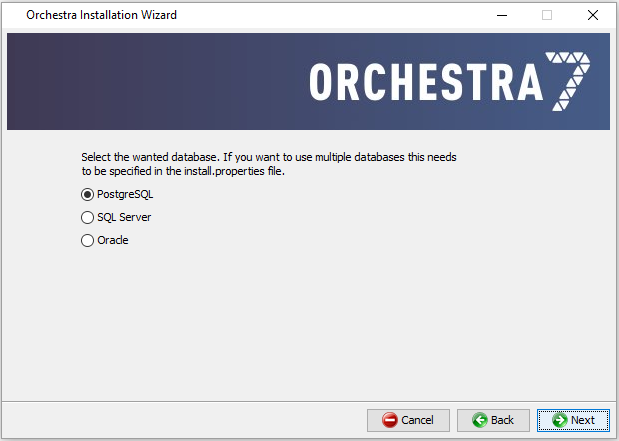 | 6. If you answered Yes in the previous step, select the wanted database here. |
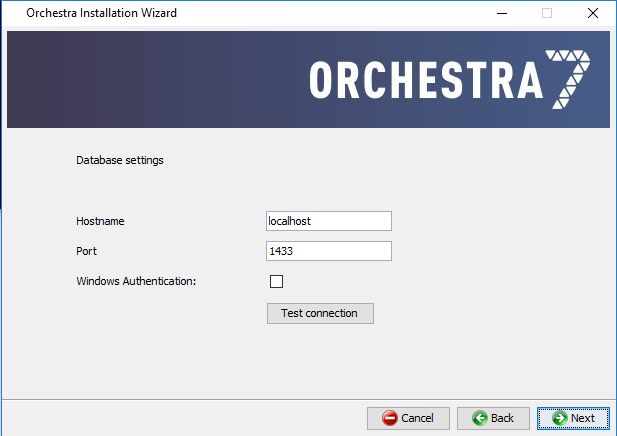 | 7. Enter your database settings (Hostname and Port for PostgreSQL and SQL Server, Hostname, Port, and SID (for Oracle). It is also possible (not mandatory) to test the connection here. For SQL Server, you can also select Windows Authentication. For more information, see “Installation Note - Windows Authentication” . |
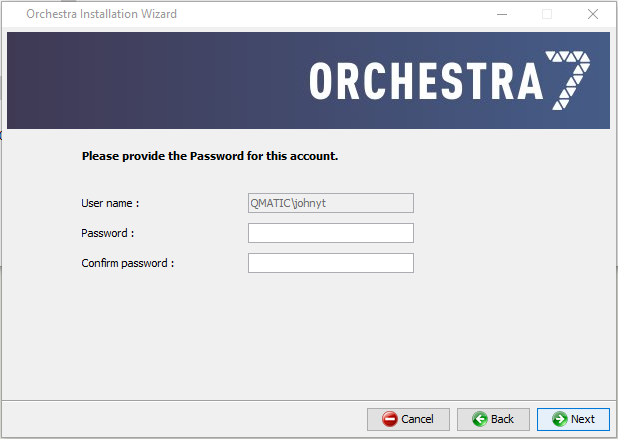 | 8. If you selected SQL Server and Windows Authentication in the previous steps, enter and confirm your password on this page. |
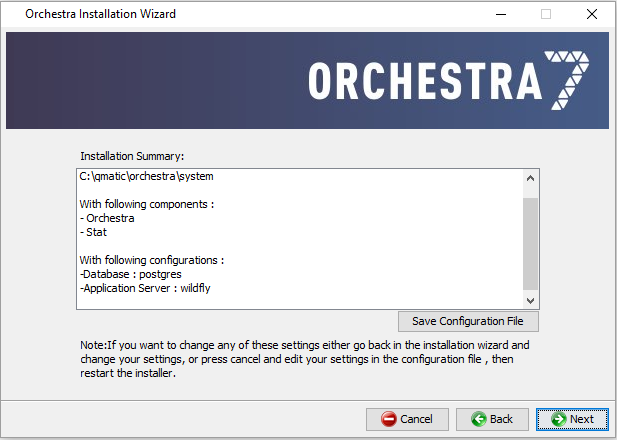 | 9. This page shows an Installation Summary. You can either go back through the wizard and update your settings, or click Next to proceed. Here, it is also possible to save the configuration file. |
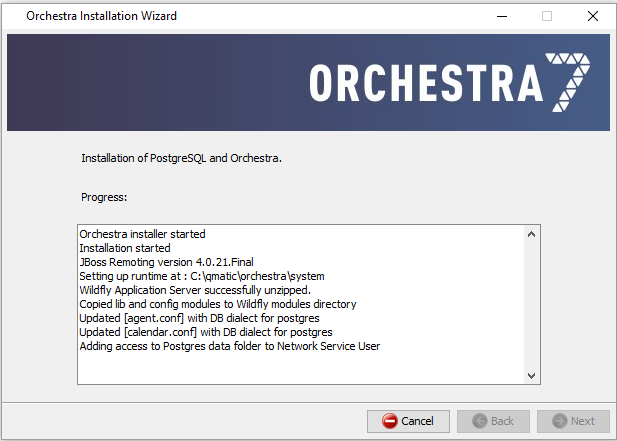 | 10. This page shows the progress of the installation. |
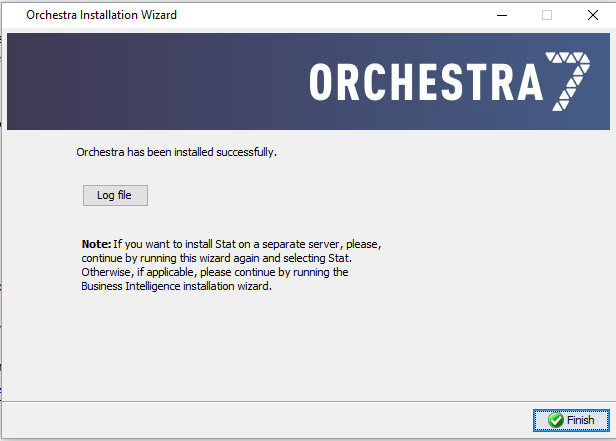 | 11. When the installation has been successfully completed, click Finish. It is also possible to download the log file. |
If you want to import a system configuration, we recommend that you do this before any other configuration is done. It is recommended that path names containing spaces should not be used. If you are going to use PostgreSQL and will be installing it at the same time as installing Orchestra, this configuration can be skipped. The scripts are designed for a rudimentary base installation of Orchestra, and should be reviewed and tuned by the database administrator to match the installation size and performance requirements. The Oracle scripts will create required schemas in default user table-space. Please review the scripts and assign appropriate table-spaces for the schemas. Larger installations may require tuning of some Oracle instance parameters. Larger installations may require tuning of some PostgreSQL parameters. If you want to import a system configuration, we recommend that you do this before any other configuration is done.